Military Spouse | Perpetual Renter - Sharing easy, affordable, & practical home decor & organization solutions to help you transform ANY space into a place you love! ❤️
Share
❤️ Did You Know You Could Do This?
Published 28 days ago • 4 min read
5 minute read
Hi Reader!
One of the trickiest things when moving from one home to another, is getting items (that you really, truly love) to fit AND fit well.
We’ve become pros at shuffling furniture up, down, and all around in order to find the “just right” spot for every item.
But sometimes, there are things that won’t fit, no matter what.
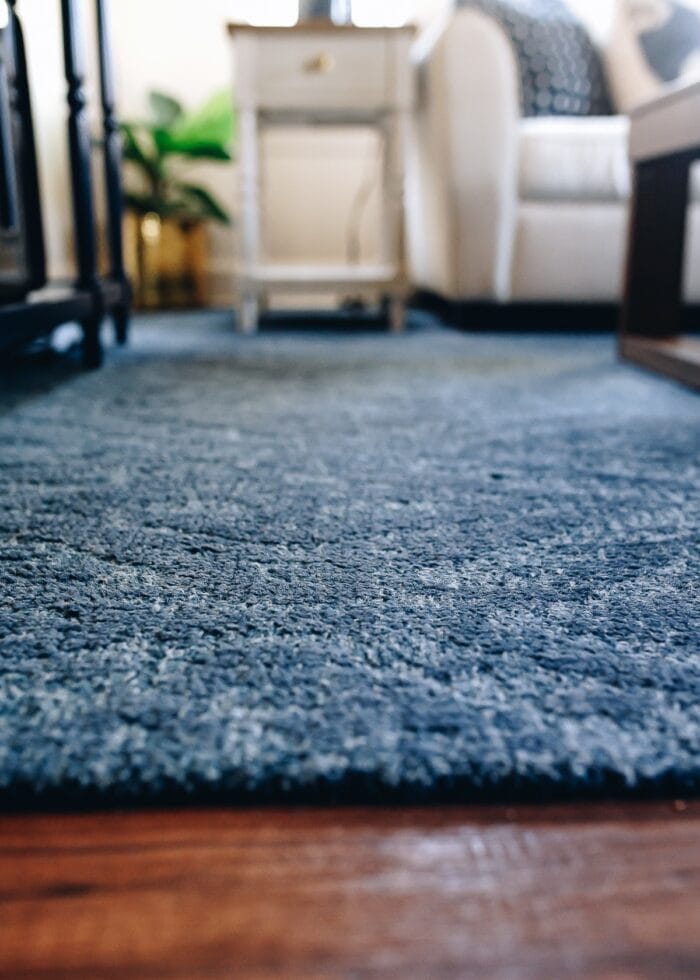
On this most recent move…it was our rugs.
Our large house in North Carolina had all hardwood floors; and as a result, we ended up buying several (very large) good quality rugs to protect our delicate tootsies.
But now, in our 1800ish square foot house in California (that has wall-to-wall carpet upstairs), we had almost no spots for any of them.
One rug is now rolled up and protected in the garage.
Another got sold at a (shamefully) low bargain on Facebook Marketplace.
But my 10x14’ Pottery Barn rug that I waited forever for (and quite frankly) paid a lot for?
I wasn’t letting that one go for $100 on Facebook.
So what do you do with a gorgeous, high-quality rug that you don’t want to get rid of but doesn’t fit your room?
You cut it.
Record screech……..
Yep, I said…cut it.
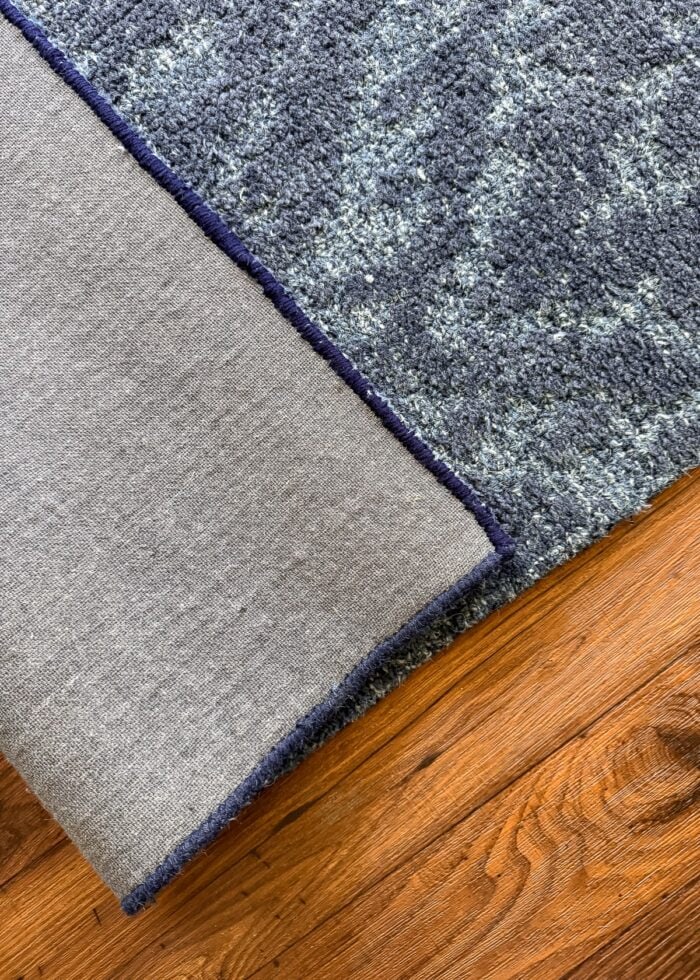
Did You Know You Can Get Rugs Re-Bound?
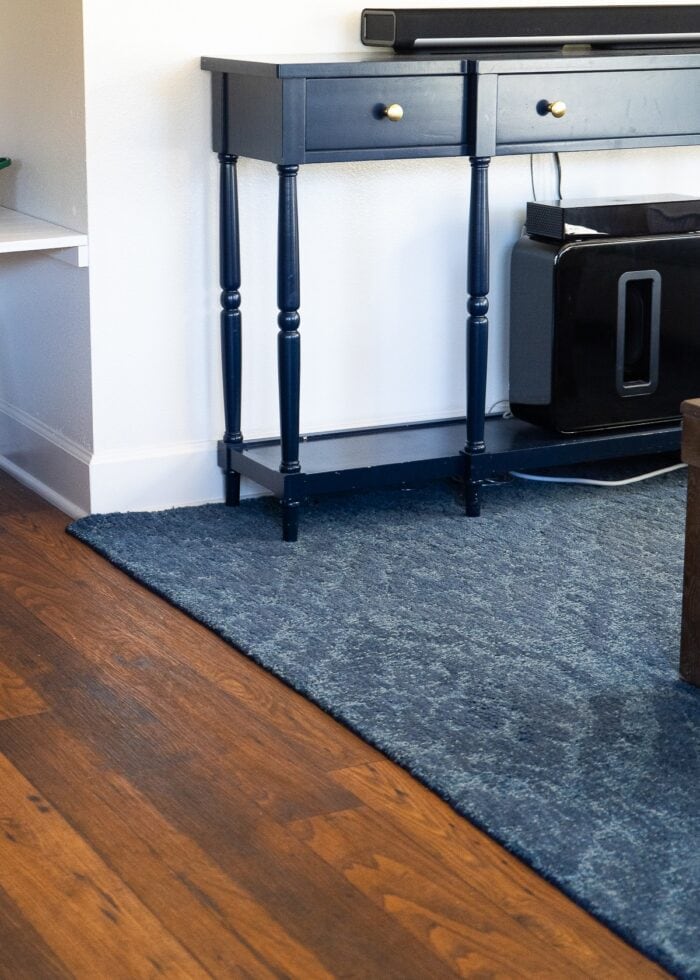
This Pottery Barn rug is my favorite that we’ve ever ever bought. But it was 7” too long for our new family room. Seven inches!
For months, I hemmed and hawed (and hemmed and hawed some more) on where to store it, what to do with it…always coming to the conclusion that I just didn’t want to get rid of it.
And then it occurred to me: what if we had it re-bound?!?
After a fairly simple Google search, I found a local rug cleaners that also did professional rug re-sizing.
I sent off a few pictures for a quote, and they confirmed they could copy the hand-woven binding already on the rug.
Yes, it was a pain to load a 10x14’ (HEAVY!) wool rug into my car (and bring it home again).
And I hate that I had to pay (about $250) to “fix” a rug that was in perfectly good shape.
But I LOVE that we got to keep this rug in our home (and not store it in our garage).
I LOVE that I didn’t have to sell it off for pennies on the original price.
And I LOVE how it looks in our new family room.
Hand vs. Machine Binding
In this process, I learned there are two main types of rug binding: hand binding (more expensive, longer completion time) and machine binding (cheaper, quicker).
(Our rug place charged by the foot and had two different rates for hand versus machine binding.)
Once the carpet place saw pictures of my rug, they could tell instantly what kind of binding it was (hand) and gave me a quote without even going into the store.
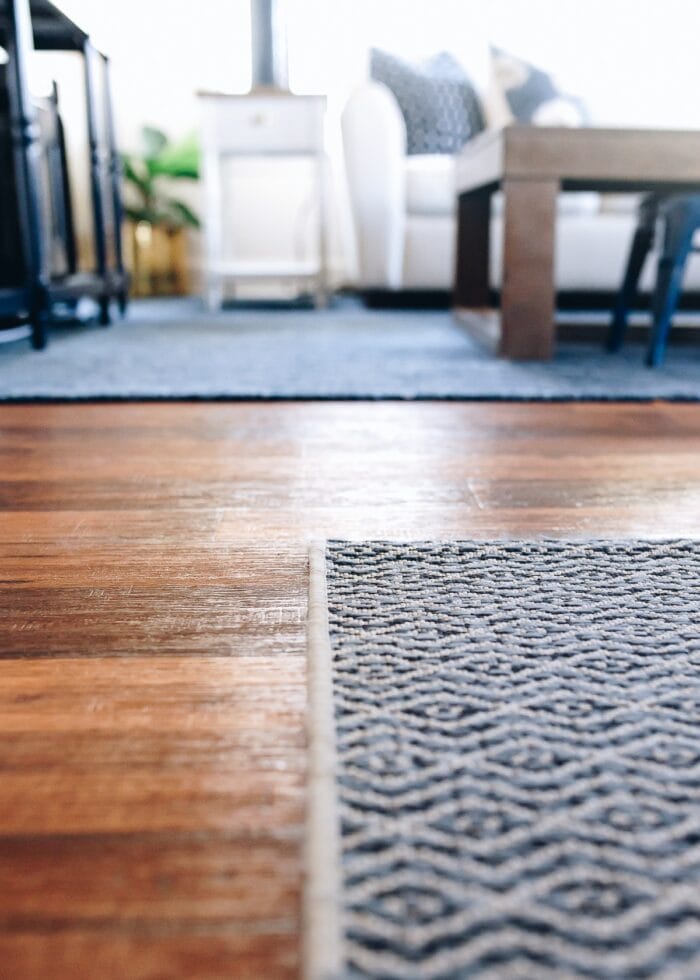
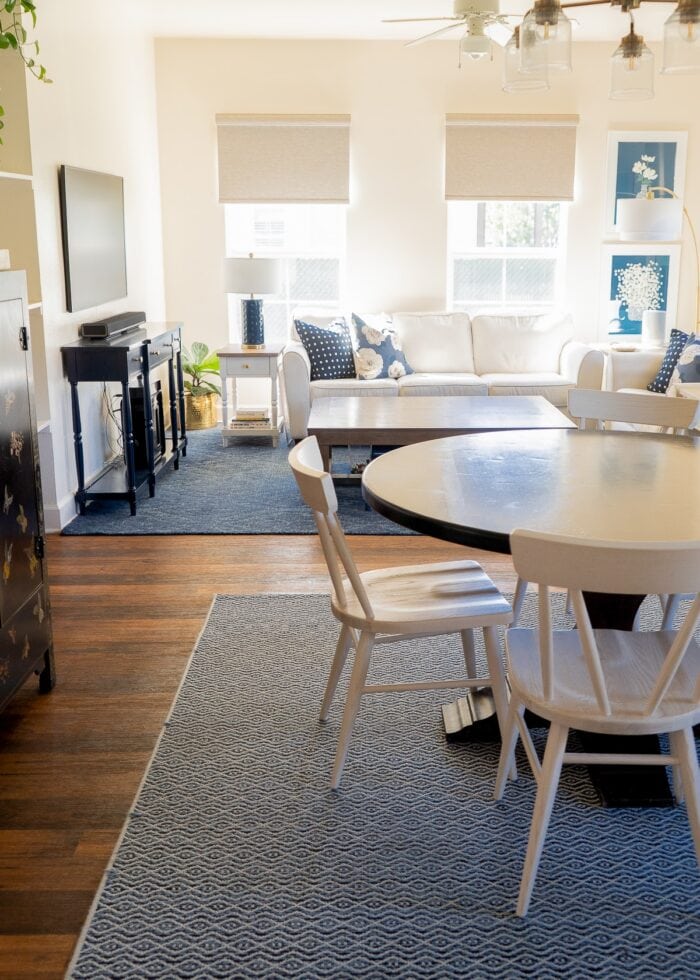
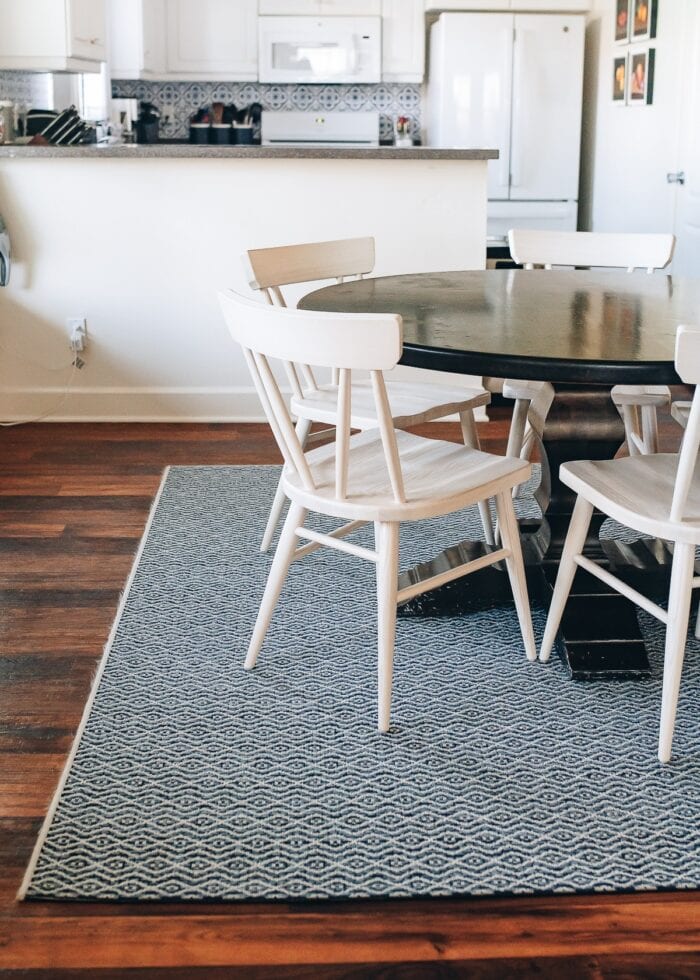
Once we understood the process, we decided to get our smaller/cheaper outdoor rug re-sized to better fit in our dining nook, as well. This rug was machine surged and cost about $100.
Original binding is on the right, new binding is on the top.
Cutting Rugs By Hand
Our large wool rug was thick and expensive, so no way was I going to attempt a DIY cut/bind project.
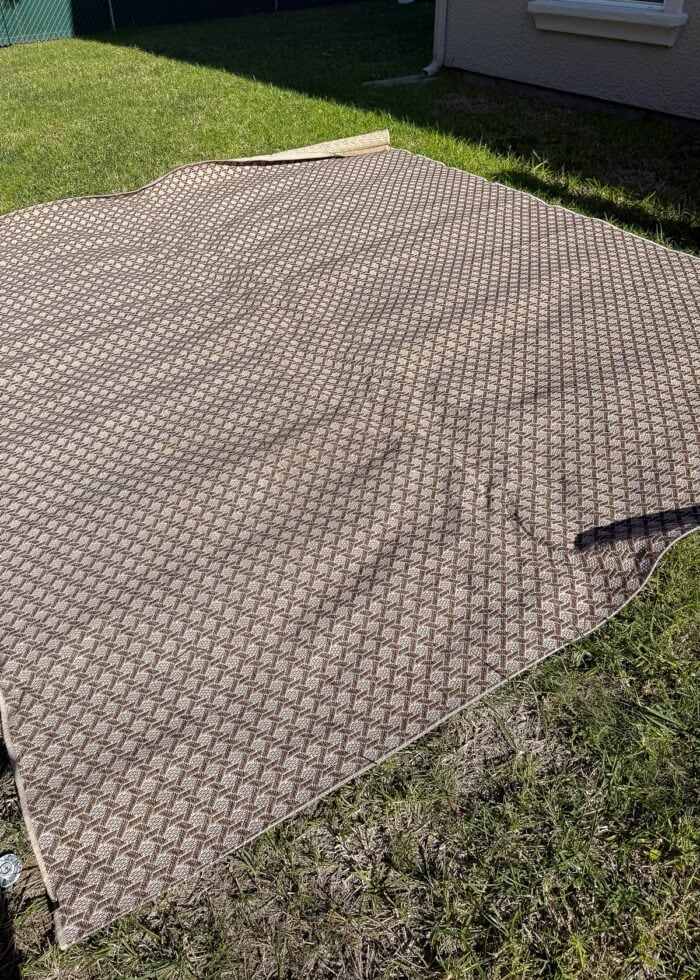
But after the machine binding on our dining room rug cost almost more than the rug itself, I couldn’t help but experiment with another outdoor rug we had that (also) wouldn’t fit on our front porch (are you sensing a trend?!?)
I LOVE Target’s outdoor rugs, and we have quite a few of them. We had no place for this brown one, so I decided to try cutting it down to fit our skinny front porch.
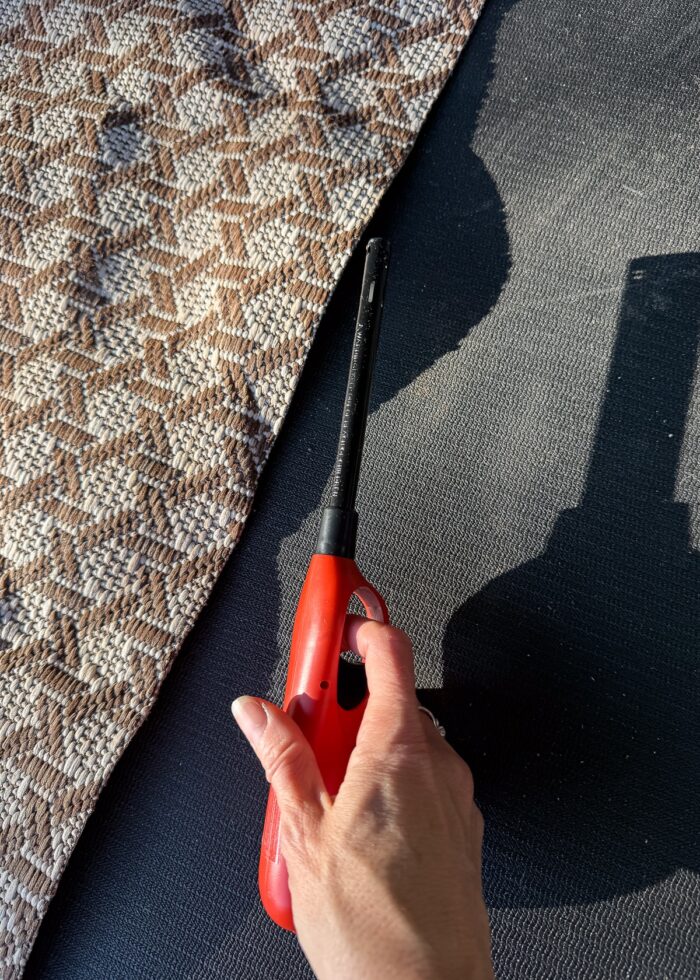
Thanks to its super-thin, polyester texture, I was able to cut it with heavy duty scissors.
And then to keep it from fraying, I “finished” the edge by melting it with a lighter.
Would I use this cut+melt solution on an indoor rug? Possibly, depending on where it was and who would see it.
Could I have also “hemmed” it with rug tape? Probably.
But…was this a perfect way to get our huge outdoor rug to fit our new porch without spending a dime, in about 30 minutes? Absolutely!
Key Takeaway
In general, I’m not a “cut things apart” kind of gal. When something doesn't fit when we move into a new home, we either figure out a way to store it or get rid of it.
But in the face of having to get rid of something high quality that I truly loved, cutting it (professionally) really was the best call.
In the end, this project showed me that there are lots of different ways to make things fit in your home!
Looking for more info on this project? Click to hear my voice notes about how we settled on the final rug size and the unexpected surprise we got as a result!
When I returned to the blog earlier this month, I mentioned I lost 20 lbs in my year away. I've had some readers ask how, so in next week's monthly Coffee Break chat, I'm going to share the strategies I used and the resources that made it possible!
Behind the Scenes
I have tried countless options for dusting furniture in our home. From microfiber rags to fancy dusters, I have yet to find something I love.
This week, we were randomly given some (dry) Swiffer Sweeping Cloths from a neighbor. We don't have a Swiffer mop, so I used one by hand...and, OMG, I think I've found "the one!"
Not only are these cheaper than other disposable options, but they really do trap dust (and hair!) better than anything I've tried! AND the rectangle size makes them perfect for furniture, grooves, baseboards, windowsills, and more! LOVE!
If you purchase anything from links in this email, I may receive an affiliate commission at no additional cost to you. I only share products I genuinely love and think will make a positive difference in your life and home!
One Commerce Center, 1201 Orange St. #600, Wilmington, DE 19899 Unsubscribe · Preferences
The Homes I Have Made
by Megan Duesterhaus
Military Spouse | Perpetual Renter - Sharing easy, affordable, & practical home decor & organization solutions to help you transform ANY space into a place you love! ❤️
2 minute read Hi Reader! We’re used to dealing with some pretty frustrating situations in our rental homes. Ugly carpeting. Bad wall colors. Dated tile. You name it, we’ve had it! Our current home has another nuisance feature: a nook. An awkward, horribly-placed, practically-useless nook. I was determined to make this spot look and function just right for this room, so we ultimately decided to add some floating shelves. And whoa...this awkward spot immediately went from exasperating headache...
5 minute read Hi Reader! The two upstairs closets in our current home were vacuous, awkward, and hard to use in their original configuration. So I made a few (easy) upgrades that turned all the open space into serious storage for games, toys, books, and costumes. If you have under-utilized closets in your home, click to learn the three (actionable!) strategies that can help you use up every last inch too! Read It: How to Max Out the Storage In Your Closets More Like This My Top Tips for an...
4 minute read Hi Reader! Years ago, I remember sharing a room reveal and one of the first comments I received was along the lines of: “The room reveal is great, but where are you storing your kids’ shoes and backpacks?” I was a bit flabbergasted that THAT was the question after sharing so many creative solutions in the post. But all these years later, that comment has stuck with me because it hits on what we all really want to know: How do you store all the “nuisance but necessary” items of...